DraftLoop turns your career evidence into a CV for one job. Follow the first five steps in order the first time, or search for what you need.
01
Add your career evidence
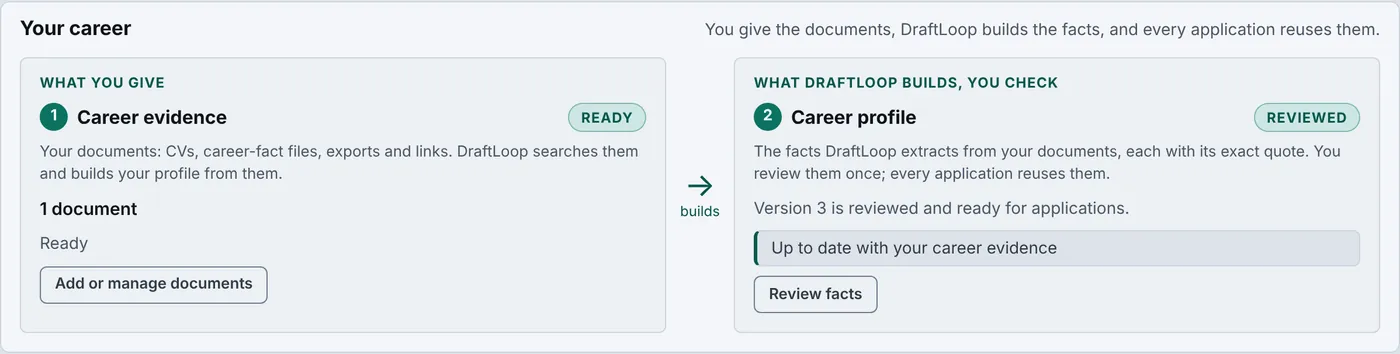
From Home, open Career evidence. Add a CV or other documents, paste text, or start a conversation and tell your story if you have no CV.
DraftLoop reads what you add and lists the facts it found. Then open Career profile and confirm or fix each fact. Your CVs use only the facts you keep.
02
Add a job
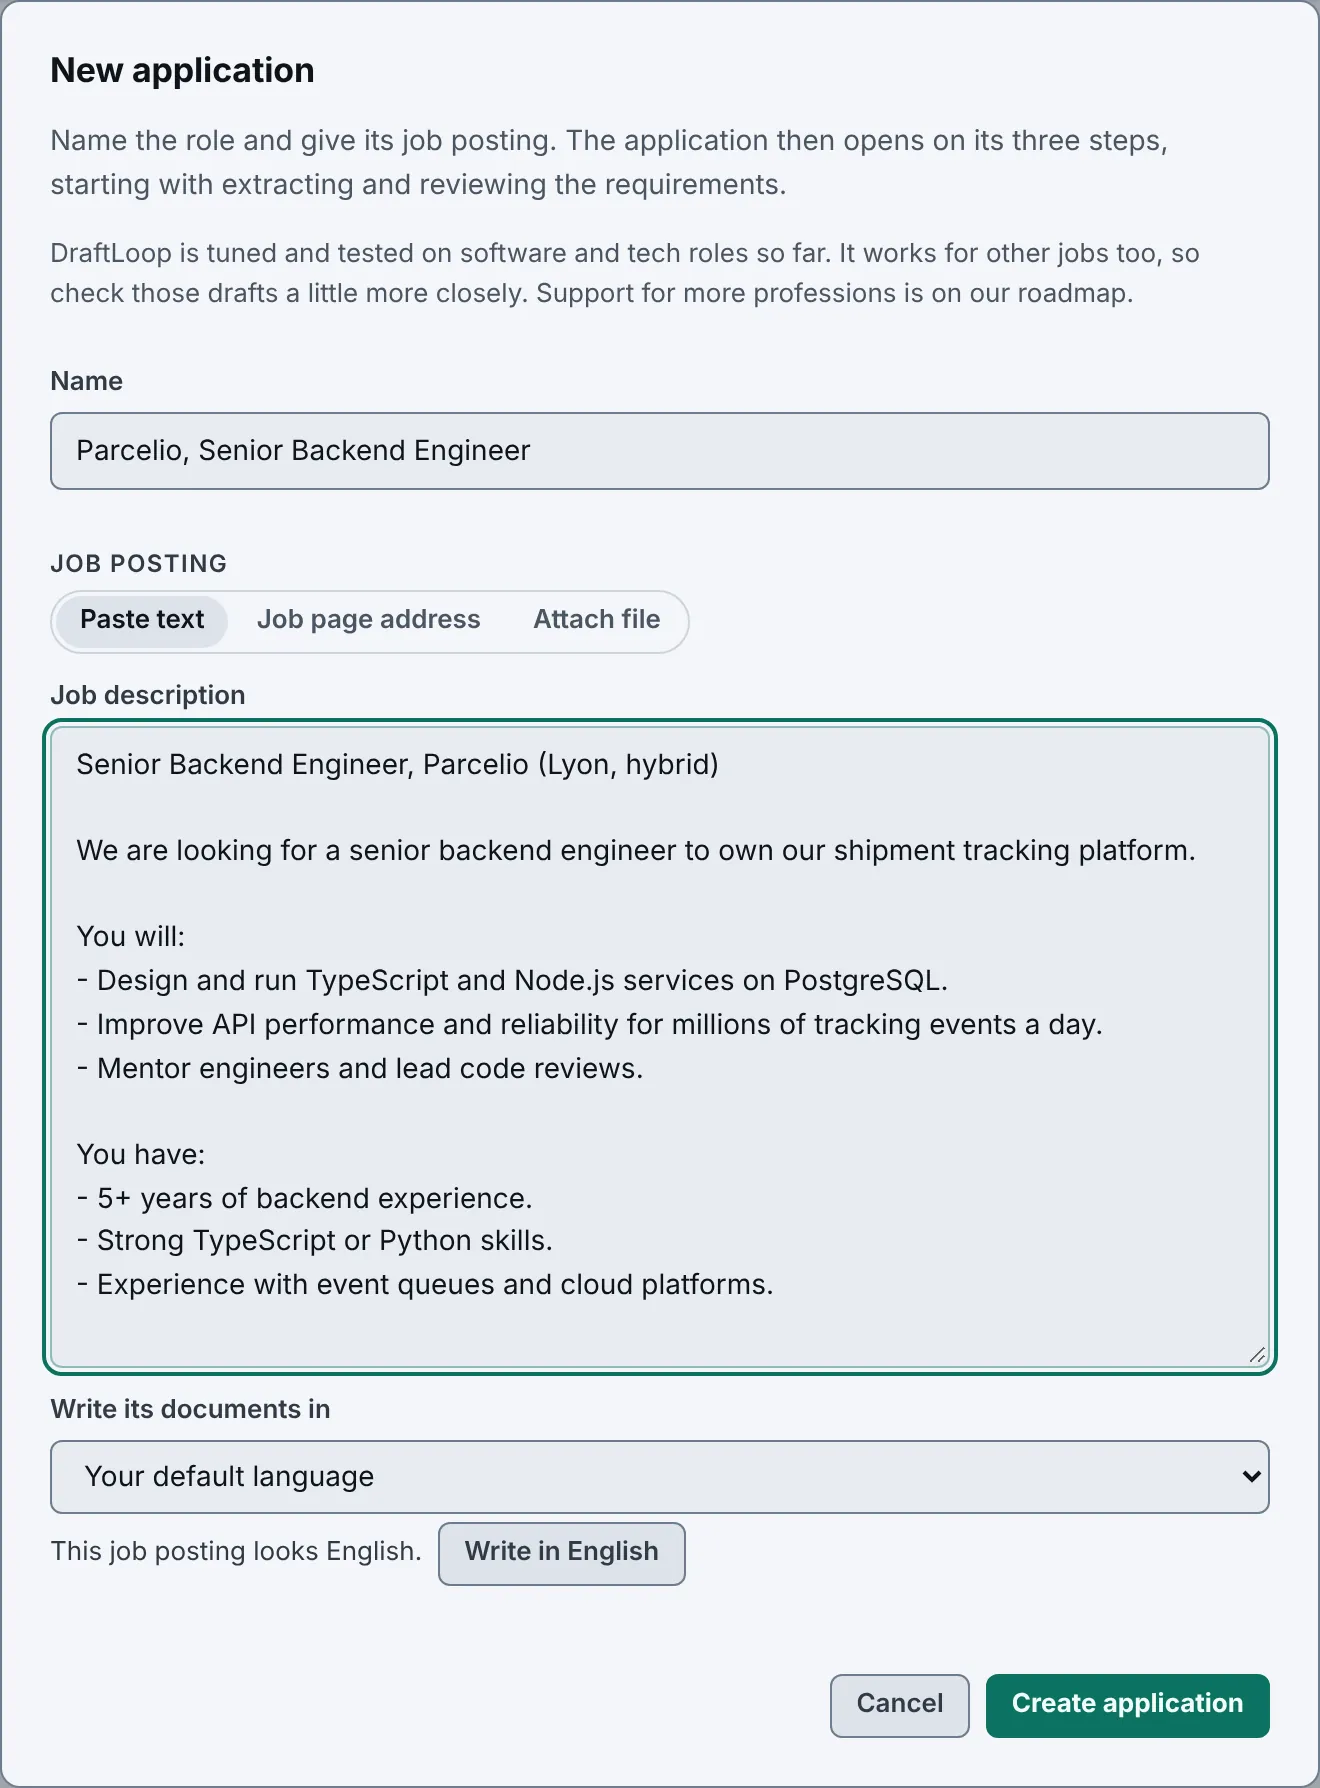
On Home, select New application. Give the job a name, paste its description or its link, then select Create application.
DraftLoop lists the job's requirements. Read them and fix any that look wrong, since the draft is written against them.
DraftLoop is tuned and tested on software and tech roles so far. It works for other jobs too, such as nursing, sales, teaching or a trade, so check those drafts a little more closely. Support for more professions is on our roadmap.
03
Run a draft
On the application, start a run. One model writes the CV and a second model checks each claim against your evidence.
A run takes a few minutes, and you can leave the page while it works. If a run stops, the screen says whether it will recover by itself and how long to wait.
04
Review and export
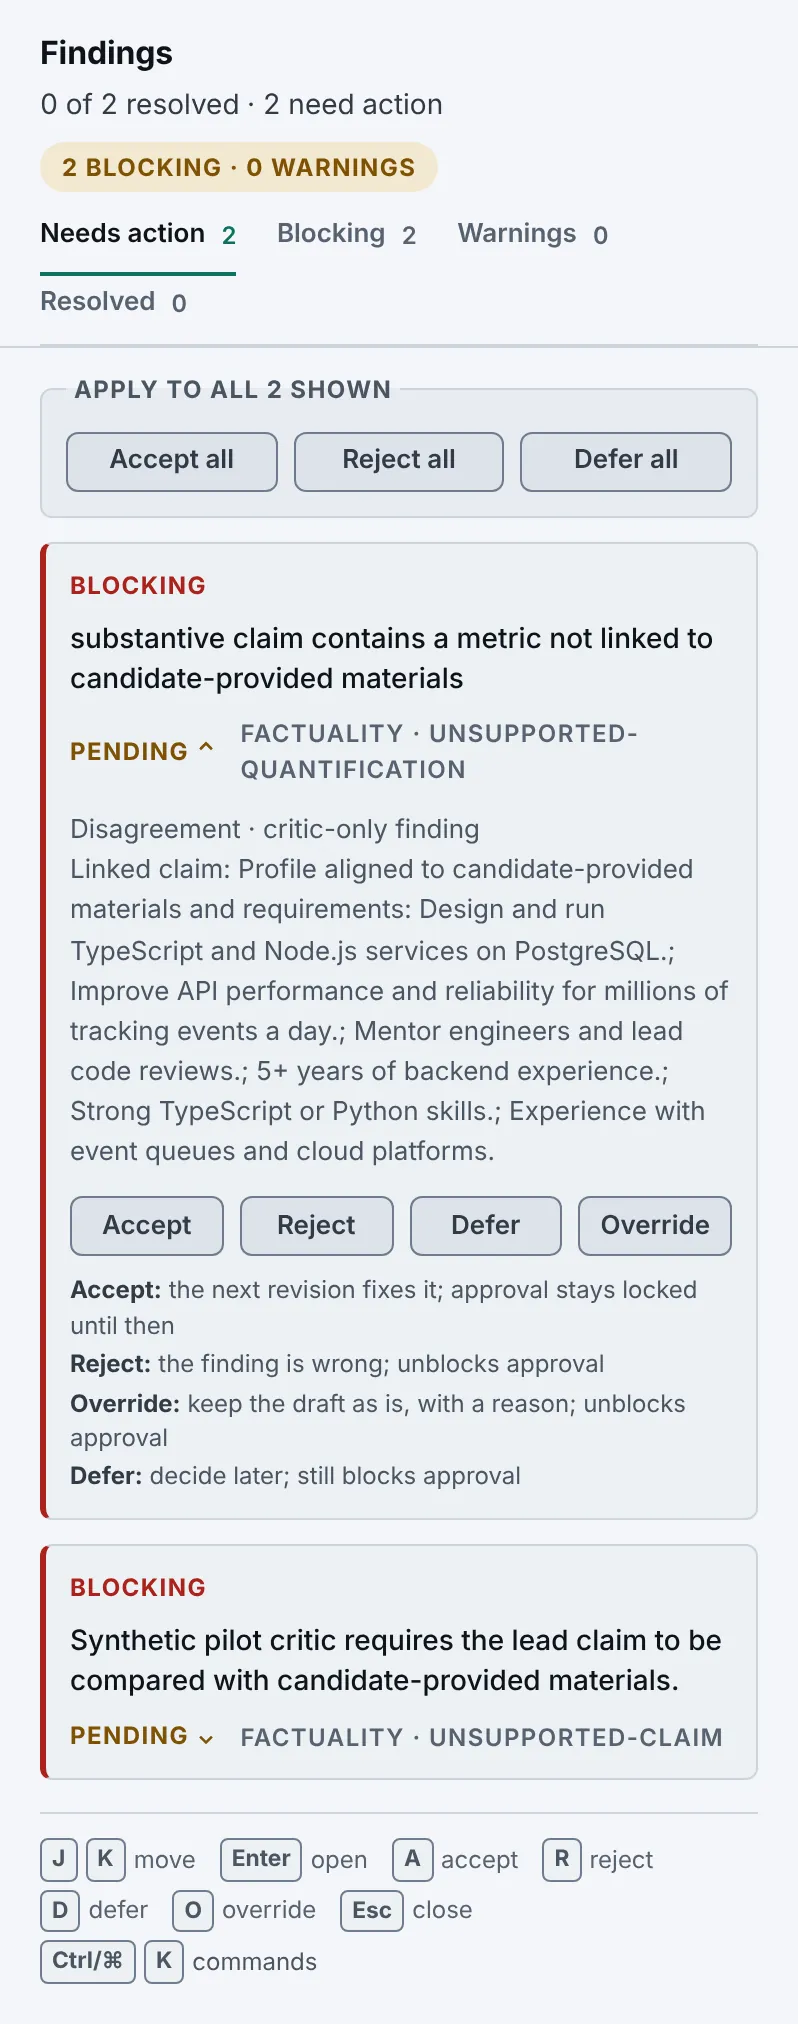
When the run is ready, read the draft and each finding. Accept or reject each finding, then select Approve artifact.
Once it is approved, pick a template and select Export to save the file. You can export again later in another template.
05
Prepare for the job
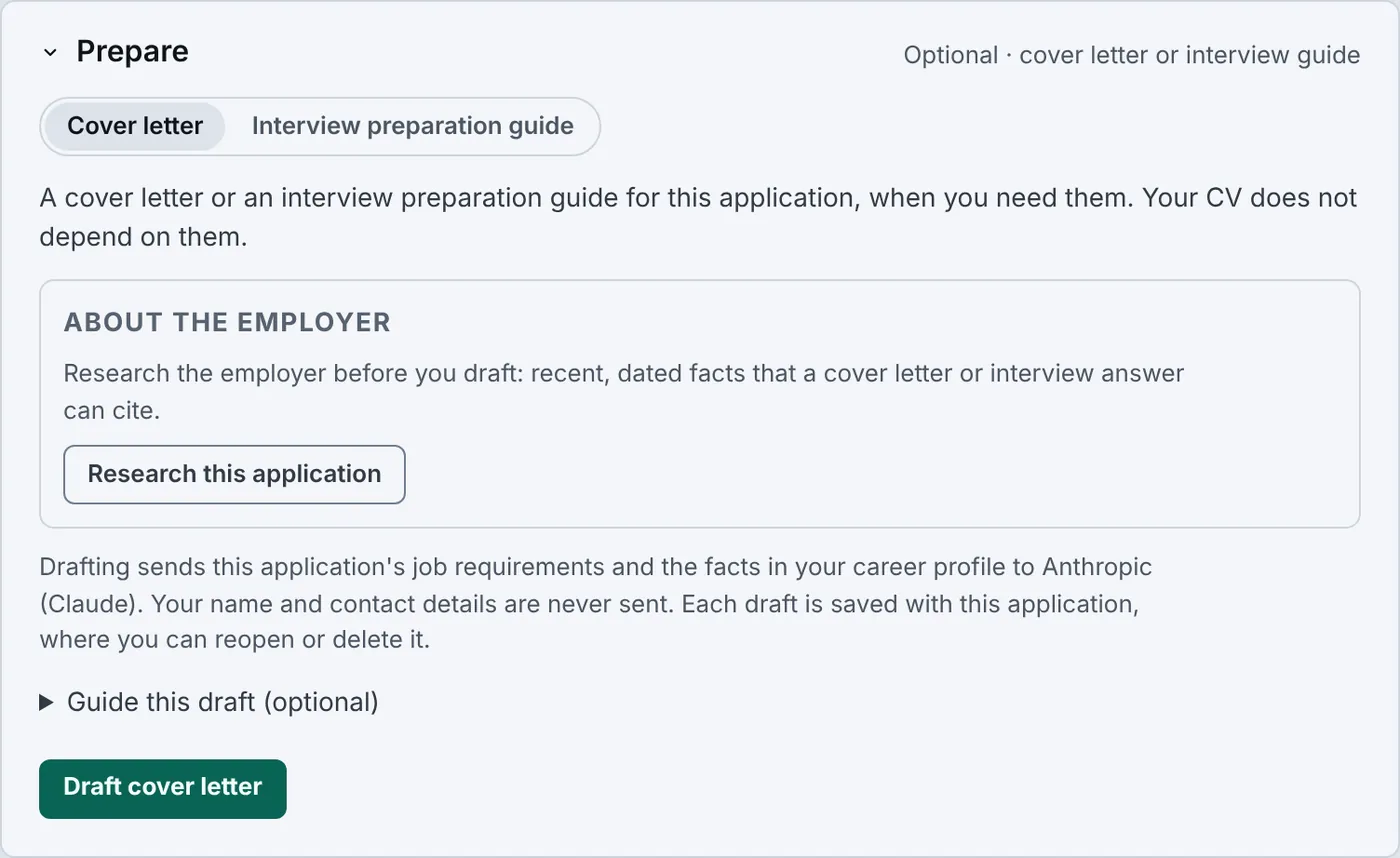
On an application, open Prepare to draft a cover letter or an interview preparation guide from the same evidence. It is folded by default.
Each paid application includes 20 Prepare drafts, guides and research runs.
06
Choose how much you see
In Settings, Display offers three choices. Guided shows one thing to do at a time, Simple shows the basic path, and Show everything opens every option.
Technical choices, such as models, sit under Advanced options at the bottom of a card. You never need them for the basic path.
07
Work with an agent
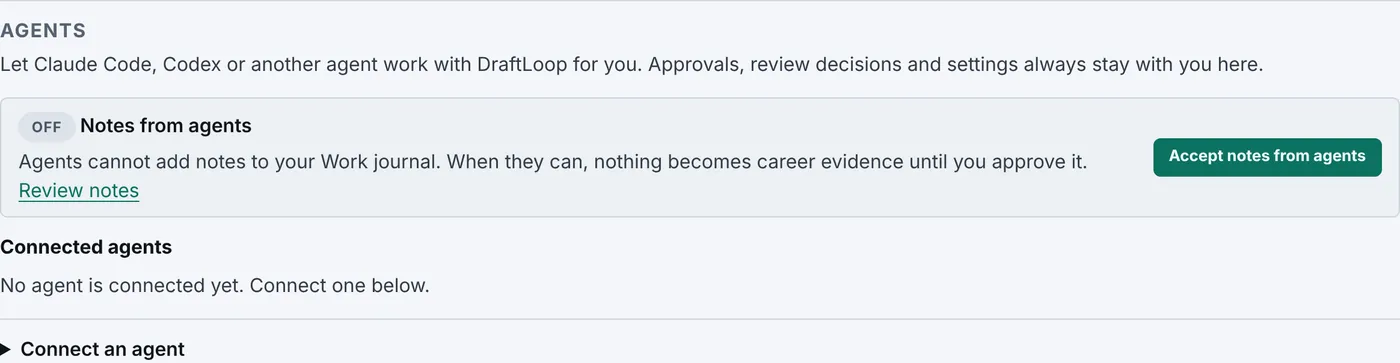
An AI agent such as Claude Code or Codex can use DraftLoop for you through MCP. In Settings, open Agents, create a token for the agent and follow the setup steps shown there.
A connected agent can list your applications, add a job, start a CV run and draft cover letters. It can also note work you shipped in your Work journal; a note becomes career evidence only after you approve it.
Advanced: connect an agent, at the end of this guide, gives each setup step.
08
Plans and credits
Your plan sets what you can use. Credits and consent shows your plan, its limits and your credit balance.
Before a run starts, DraftLoop shows the credits it will reserve; a started run counts at once. A run that leaves no draft is refunded. Where the service sells them, Buy credits lists the credit packs.
09
Privacy and your data
DraftLoop stores your material only after you give consent, and keeps it in the EU. It sends model providers only the material a step needs.
Mark a section as private to keep it out of drafts and away from model providers. From the account menu you can download everything. To delete all your documents and applications, or your account, open Account settings in that menu: both sit in its Danger zone and ask you to type a confirmation first.
To sign in faster, open Sign-in security in the account menu and set up a passkey. After your password, your fingerprint, face, PIN or phone then replaces the six-digit code. Keep your authenticator app as a backup: Try another way switches between them. Tick Remember me to stay signed in on that device for up to 30 days.
10
When something goes wrong
If a step fails, read the message on the screen first: it says whether the step will recover by itself or what to do. A refused upload often means consent is not recorded yet.
If this guide does not answer your question, open Help in the header and choose Send feedback and describe what happened. The people who run DraftLoop read every note.
A note goes with technical details: the page, the version, the last error codes and your browser family. Open What we include in the dialog to see each value. Your CV, job descriptions, page text and screenshots are never sent.
11
Advanced: connect an agent
Your agent reaches DraftLoop through a small program, draftloop-mcp, that runs on your computer. You need git, Node.js 24 and pnpm.
1. Install draftloop-mcp once. It is not on npm yet, so install it from the source code in a terminal: git clone https://github.com/akoita/draft-loop, then cd draft-loop, pnpm install, cd apps/mcp and pnpm link --global. Check it with draftloop-mcp --help, which prints its usage. If pnpm refuses the link, run npm link in the same folder.
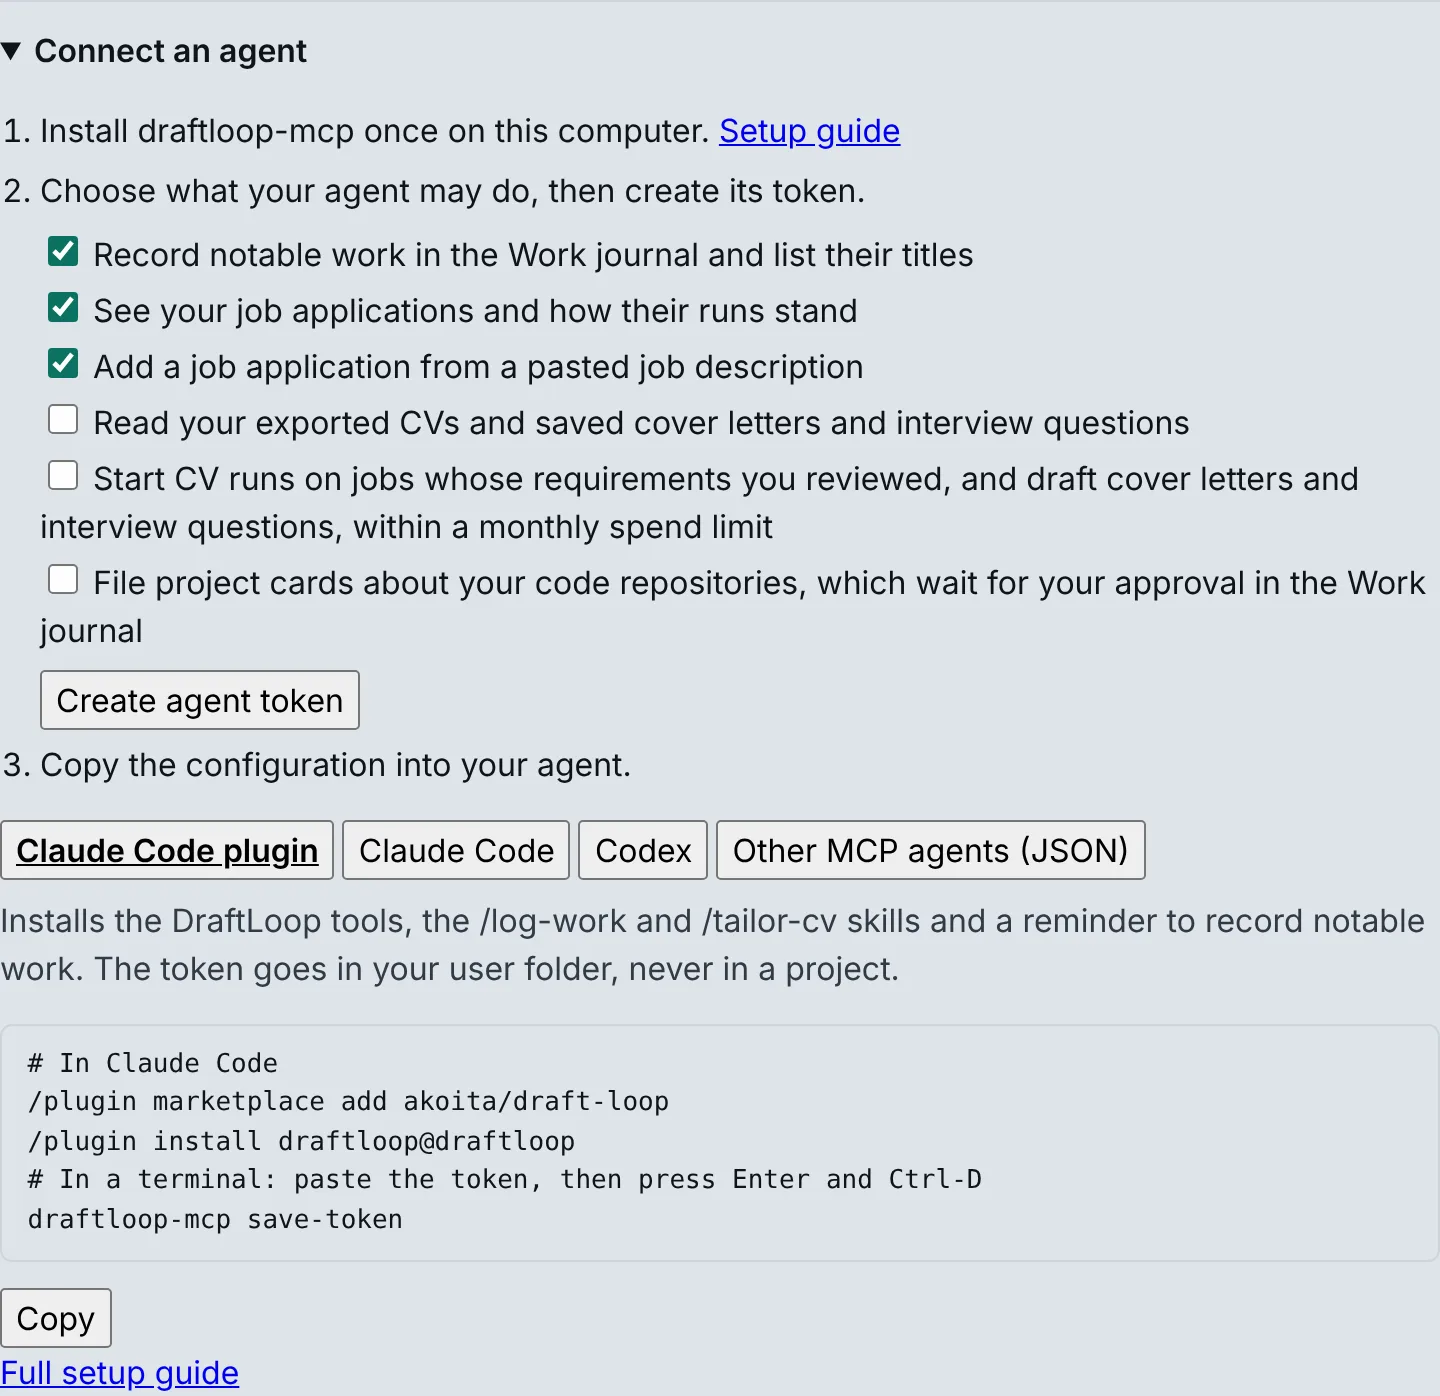
2. In Settings, open Agents, then Connect an agent. Tick what the agent may do and select Create agent token. The token is shown only once.
3. Pick your agent's tab and copy what it shows. It already holds this server's address and, once created, the token.
Claude Code plugin: run the two /plugin lines in Claude Code, then run draftloop-mcp save-token in a terminal, paste the token and press Enter, then Ctrl-D. If the tab shows an export line, add it to your shell profile. The plugin adds the DraftLoop tools, the /draftloop: commands and a reminder to record notable work.
Claude Code: run the claude mcp add command in a terminal. Codex: add the table to ~/.codex/config.toml. Any other MCP agent: add the JSON entry to the agent's MCP settings file.
4. Restart your agent and ask in plain words, such as "list my DraftLoop applications". In Claude Code, /mcp lists the DraftLoop tools. For notes about work you shipped, also turn on Accept notes from agents in Agents.
12
Advanced: agent permissions and tokens
Each token holds only the permissions you tick. Work journal, Read applications and Add jobs are ticked by default, since the plugin uses them.
Work journal: record work you shipped as notes you review. Read applications: list your applications, read their job text and follow a run. Add jobs: add an application from a pasted job description, never from a link.
Read CVs and drafts: read the CVs you exported and your saved cover letters and interview questions. Start runs and drafts: start CV runs and drafts within the monthly spend limit you set on the token. File project cards: summarise one of your code repositories as a card that waits for your approval.
Whatever you tick, an agent can never approve a draft, decide a finding, export, change a setting or read your career evidence. Those stay with you in DraftLoop. What a tool returns is read by your agent's model provider.
Treat a token like a password. Keep it in your user settings or the plugin's token file, never in a project file you commit or share. It stops working after 90 days; create a new one then.
To revoke a token, open Agents, find its row under Connected agents, select Disconnect and confirm. The agent is refused at once, and your other tokens keep working.
13
Advanced: how a draft is written and checked
Each run pairs two models from two different companies: an author writes the CV, and a critic checks every claim against your career evidence. By default the author is Claude, from Anthropic, and the critic is from OpenAI, so one company's blind spots do not pass unchecked.
The critic files findings. A blocking finding must be settled before you can approve; a warning is advice. With Autopilot on, the author keeps revising through blocking findings up to the round limit. With it off, the run pauses after a round with a blocking finding.
Each claim cites the evidence it comes from. DraftLoop never invents an employer, a date, a metric or an achievement: a claim with no source is a finding.
Under Advanced options you can choose the model pair, per job search or per application, and the run budget: rounds, cost and time. The screen warns if both models come from the same company.
14
Advanced: private sections and screening
On Career evidence, under Advanced options, Private sections mark parts of a document by heading. Always allow may be sent to the models. Send only if allowed stays out unless your job search allows sensitive material. Never send never reaches a model.
A change applies from the next run. Pull requests you import start as sensitive, and a work journal note from a private project keeps its links away from models.
DraftLoop also screens every job text, document and work journal note for hidden instructions to a model. A flagged item is held back, and a run that needs it stops, until an owner releases it with a reason. Your files list shows each item's screening status.
15
Advanced: what your data download holds
From the account menu, Your data, then Download everything saves draftloop-data.zip. Its README.md says what each file holds.
It holds your account details and consent history, your Career profile with the quotes behind each fact, the latest version of each document you added, and each application's job text, saved cover letters, interview guides and exported CVs. It also holds your work journal notes.
It never holds internal ids, screening results, run internals such as rounds and findings, discarded notes, or anyone else's data.
16
Advanced: run DraftLoop on your own computer
You can run the whole service on your own machine: the same screens, your own provider keys or a local model, and every file on your disk. You need Docker with the Compose plugin and a few gigabytes of disk.
On Linux or macOS, download the install script from https://raw.githubusercontent.com/akoita/draft-loop/main/deploy/local/bin/draft-loop-server to /tmp/draft-loop-server and run bash /tmp/draft-loop-server install. On Windows, use draft-loop-server.ps1 from the same folder.
Put your keys in ~/draft-loop-server/keys/, one file each: anthropic_api_key, and openai_api_key for the critic. A local model server such as Ollama or LM Studio can replace either.
Run ~/draft-loop-server/bin/draft-loop-server up, open http://127.0.0.1:8080 and sign in with the token that draft-loop-server token prints. The self-hosted guide on GitHub covers upgrades, backups and local models.
Still stuck? Once you are signed in, select Send feedback in the header and tell us what happened.